Start Installation
Welcome to Zenda call manager. Throw this document; we’ll guide you – step by step – to completely install Zenda VOIP server.
Install Zenda Image File
If you haven’t done yet, you need to have an installation media for the Zenda system. Follow these steps to get one:
- Download the Zenda iso image file from this link zenda iso image
- Burn the downloaded iso file to a CD or USB flash, or if you plan to use a virtual machine (instead of a physical server); you can use the iso file as it is.
Prepare your server machine
Zenda can be installed either on a physical server or virtual machine, depending on your site environment. And since Zenda doesn’t require any physical specification; no option overcomes the other.
But whatever option you go with; server must have enough resources to do its job as follow:
- CPU: Core i5 or above
- RAM: 16 GB (for up to 10 extensions; for more extensions more RAM will be needed)
- HDD: Large enough to store your recorded calls (Zenda itself just need about 6 GB, and if you record in mp3 format; about 7 GB needed for every 1000 hours of recording)
Note that: In case you use your server for training & learning process; much less resources will be needed.
Start Installation
Related to the internet connectivity; you can install Zenda in 2 modes:
Online Installation:
Where all package updates will be checked during installation and installed automatically, so that after installation your server will be updated. But this will increase the installation time, and also if the connectivity is lost during installation; the whole process will be failed!
Offline Installation:
In this installation mode, no package updates will be checked, and an manually update may be needed later after installation. But this takes a less time of course, and assure the installation completed without any surprises. (So this mode is recommended).
Now, insert your installation media (CD/USB, or just the iso image in case of virtual machine server), and follow the screens as follow:
Power your machine on, and let the installation start.
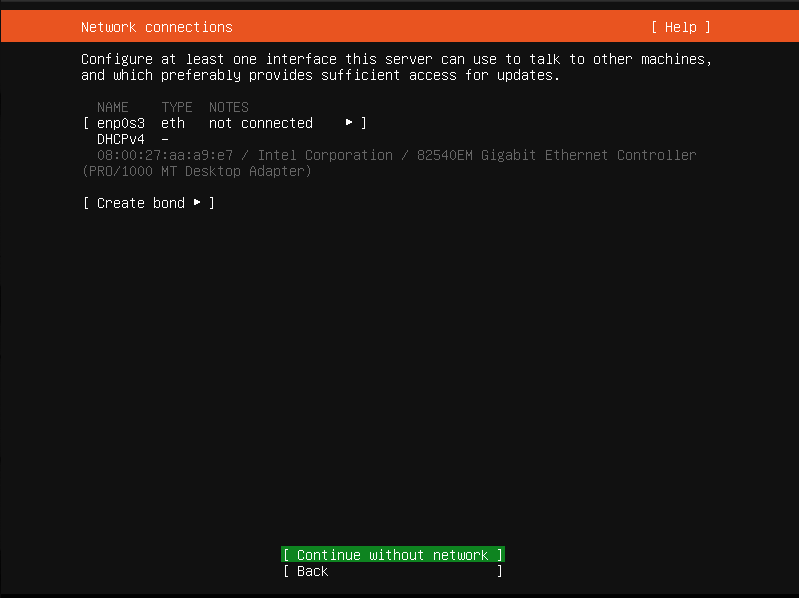
The first screen you get is for the network configuration. If you choosed to work offline (as recommended), then you shouldn’t add any configuration here, and just click on “Continue without network” option
But if you work online, then you may let the DHCP service gives you an IP address dynamically, or choose to set it manually where you have to fill all network parameters (e.g. IP(s), netmask, DNS(s), and gateway).
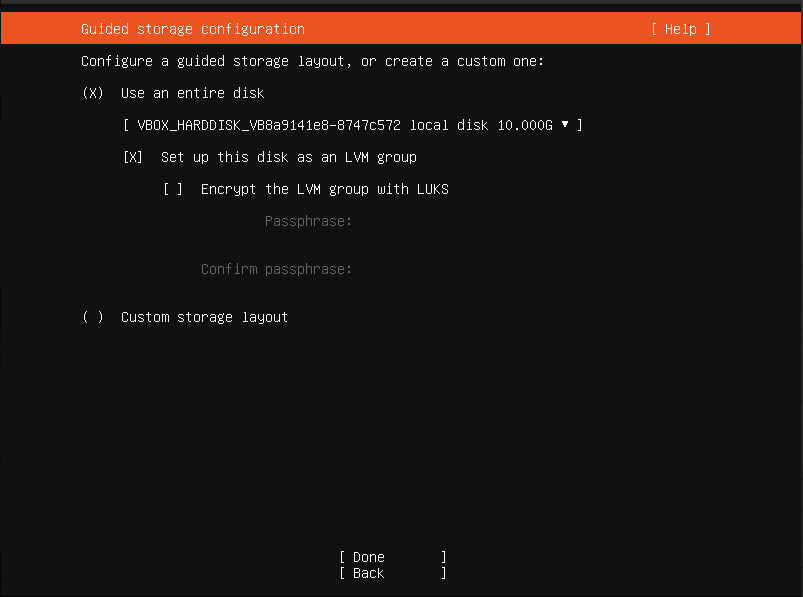
The next screen allows you to customize your hard disk drive. If you don’t have a good Linux knowledge, and a good reason to do it manually (e.g. separate the /var and /home in stand alone partition(s)); it’s preferred to let the installation wizard do it for you.
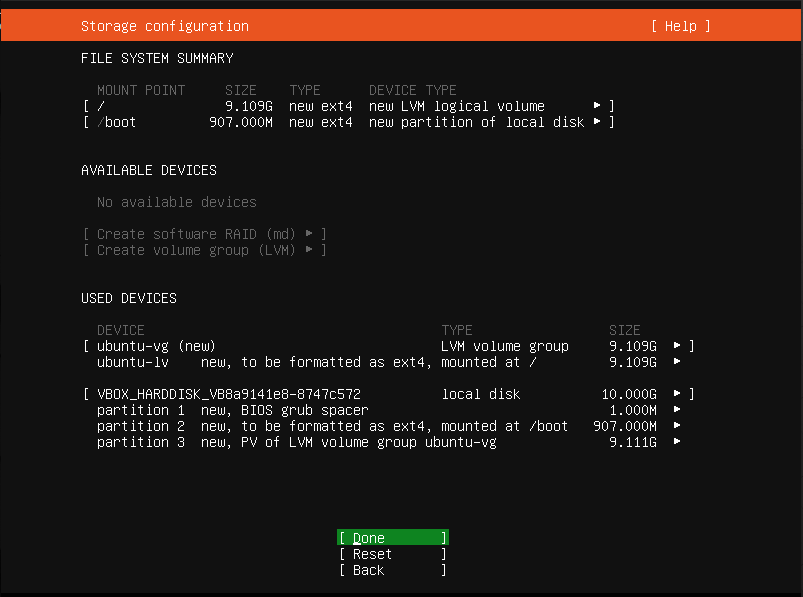
After partitioning your hard disk drive (either manually by yourself or automatically by the wizard); a summary screen will confirm you with the expected structure.
If nothing wrong; press “Done”. Otherwise you can select “Back” to go to previous screen and do the partitions again.
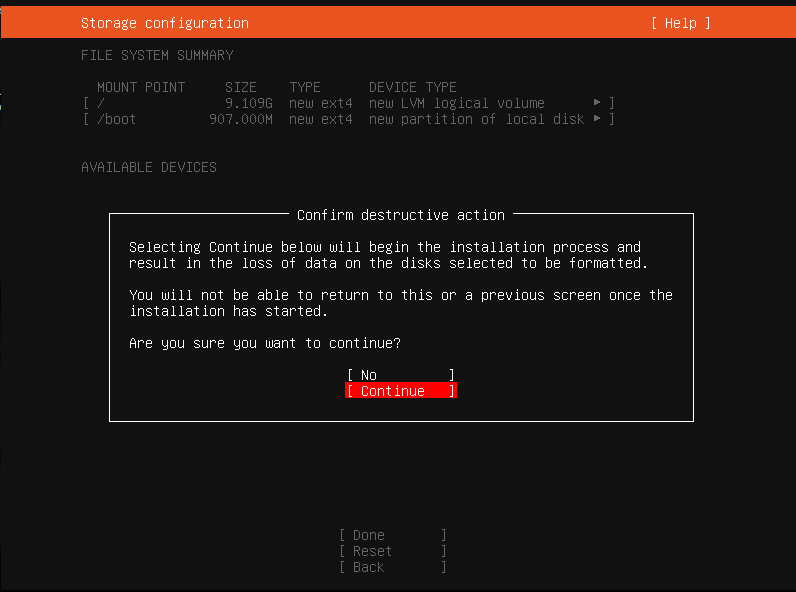
This is just a warning that your hard disk drive will be totally formatted and re-structured. Just press “Continue” to proceed.
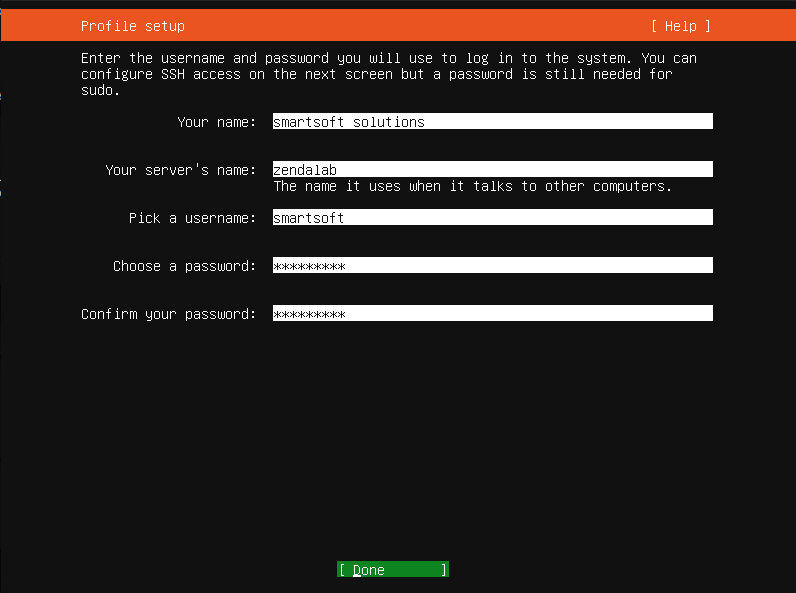
The last installation wizard screen ask you for some important data:
- Your name: Full name of the system root user that will be created on this machine.
- Server’s name: The name of this server inside your network. you can later use this name to browse your server.
- Username: The username for the root user
- Password: The password for the root user
Note: The root user will have all privileges on this whole server, so it’s recommended to use a strongly secured password for it to minimize the hacking probability.
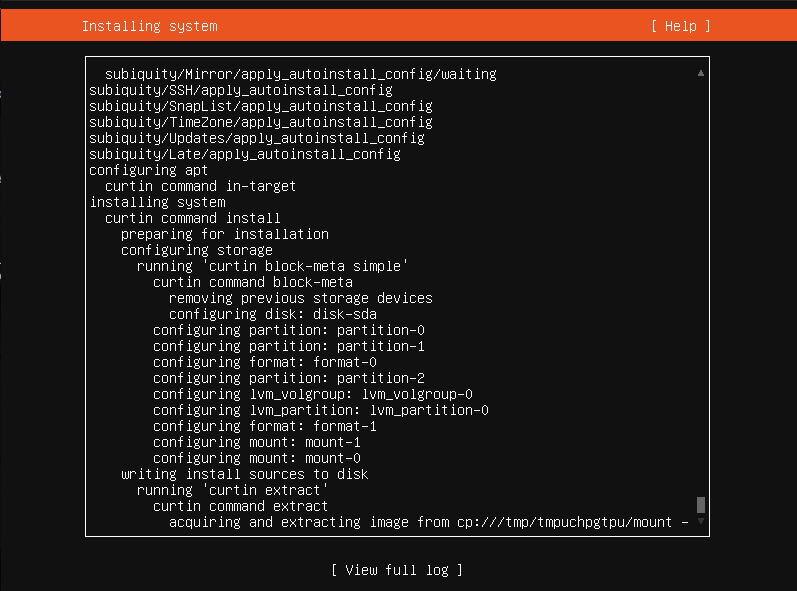
Now the automated installation start. It may take about 15 minutes to completed (depends on your server specifications). And in case you work online, this time will be increased depends on the updates available.
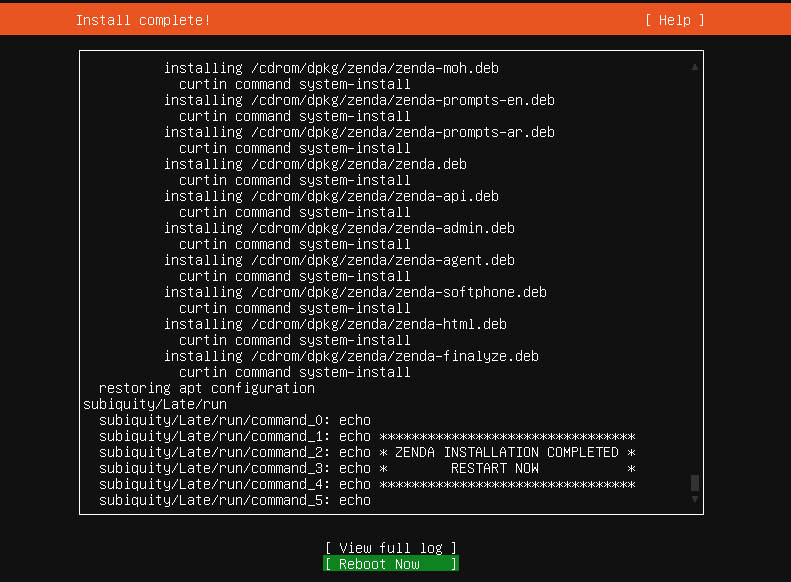
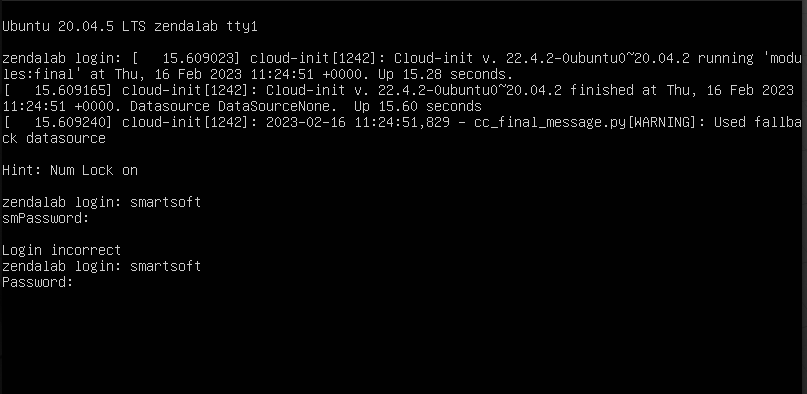
After doing its job; the installation wizard informs you that the installation completed, and ask you to reboot your machine.
Before rebooting, don’t forget to plug the network connection if you went with the Offline options. But if you already installing Online, just reboot immediately.

Browse Your Server
Congratulation, you’ve installed your Zenda Call Manager VOIP server successfully, and ready to use it.
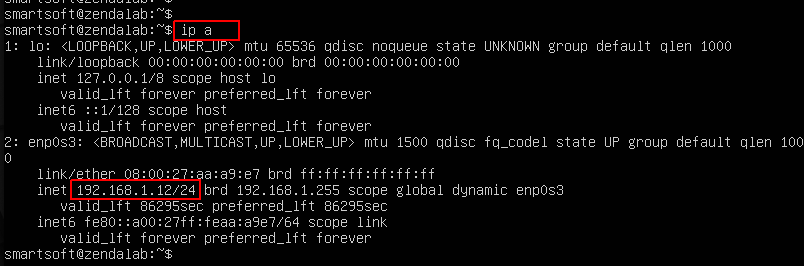
Open your preferred web browser, and type your server’s IP address, or you can use server’s name (the name you set at installation) as follow (e.g. http://your-server-name.local), and hit Enter. The main server page will be opened as shown.
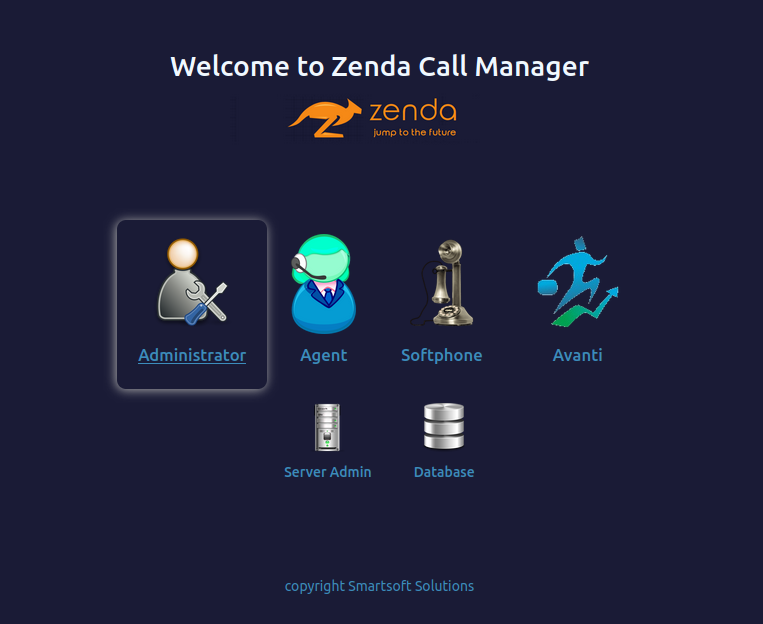
This web page offers links to the applications available on the Zenda server. Some of those applications are part of the Zenda system itself (e.g. Administrator, Agent, Softphoe, and Avanti), and some of them are general management applications used to manage some stack of the server (e.g. Server admin, Database).
As a Zenda administrator; your right hand in your job is the Administrator application, which you’ll use to configure, customize, and manager the whole Zenda system.
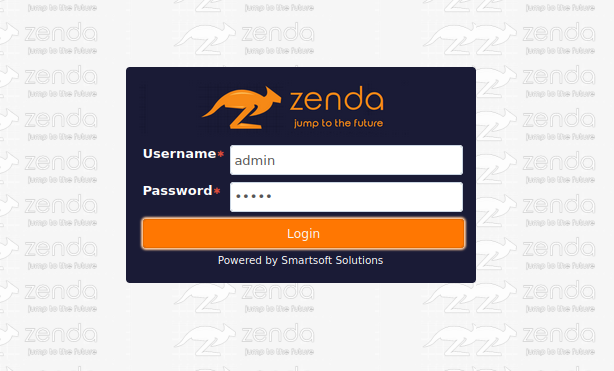
Click on Administrator link, the application will ask you for authentication. The default administrator user is:
username: admin
password: admin
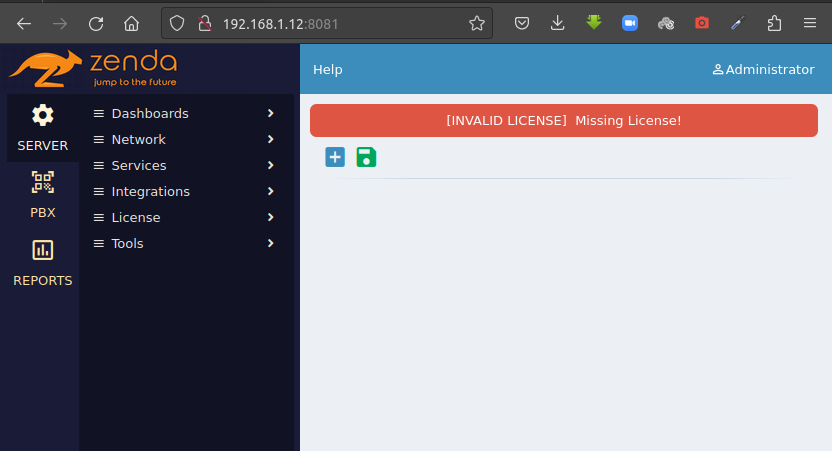
Now your server is up. But before being Running, there are a little initiation steps must be done, which is the subject of the next step.
Installation Guide (Arabic)
Next Step
Now, you have successfully installed Zenda on your server, and can easily explore it using your client machine’s web browser. Your server is UP, but – sadly – is not running yet!
In order to complete the installation and make your server up & running; there are some little steps required, which are the subject of next section